November 100 Cart Blog Hop Day One
 Welcome to Erica's November 100 Cart Blog Hop. Can you believe it is November already? Where on earth has this year gone???
Each month Ericas' Design Team uses over 100 different Cricut Cartridges in their projects during the two days of this hop. Be sure to check out each members blog for some major crafting ideas. We hope to inspire you to get a head start on your Holiday projects.
You should have come from Kathy Salido if not, then you want to start from the beginning @ My Cricut Craft Room Be sure to hop along and leave some love on each of the blogs for a chance to win some goodies. We love to hear from you.
This month our theme is Winter/ Holiday related. When I first signed up I missed the part about winter theme so I chose these 4 carts for my project: Girls Makeup Party,French Manor, Handyman and the Imagine cart Greeting Cards Inside and Out. What on earth was I going to do now? With a few suggestions from my DT sisters I came up with this:
Welcome to Erica's November 100 Cart Blog Hop. Can you believe it is November already? Where on earth has this year gone???
Each month Ericas' Design Team uses over 100 different Cricut Cartridges in their projects during the two days of this hop. Be sure to check out each members blog for some major crafting ideas. We hope to inspire you to get a head start on your Holiday projects.
You should have come from Kathy Salido if not, then you want to start from the beginning @ My Cricut Craft Room Be sure to hop along and leave some love on each of the blogs for a chance to win some goodies. We love to hear from you.
This month our theme is Winter/ Holiday related. When I first signed up I missed the part about winter theme so I chose these 4 carts for my project: Girls Makeup Party,French Manor, Handyman and the Imagine cart Greeting Cards Inside and Out. What on earth was I going to do now? With a few suggestions from my DT sisters I came up with this:
I just love how this wall plaque came out! The stockings hung by the chimney, the ladder still out to finish decorating, the presents all wrapped and of course, hot cocoa and cookies waiting for Santa. Now let me show you how this finished project is really recycled from a previous project I had started and had discarded.

For September's Blog Hop I had made a wine plaque. The finished project came out great but I had originally started with this canvas and really made a mess of things. I had put this aside and made my final project on a canvas board. However I did not want to waste a canvas. To start this project I lightly sanded this canvas and covered it over with 2 coats of Gesso and painted around the edges with a red paint. I am so determined to use up scraps that I separated all of them into color families and placed them in clear sheet protectors. I promised myself that all the embellishments had to be made from these scraps.To save time here (you would need a carafe of coffee to get through this post,lol), I'll give you the names of the carts and cut sizes to speed things up a bit.

Let's start with the background. I am so sad that Provo craft is no longer going to produce the Imagine. I for one use it all the time. I love how I can coordinate all my papers for a truly original look. For this project alone I used 5 Imagine carts and was able to make a project that is an original of mine. I used the patterned paper on page 43 of Greeting cards Inside and Out for the upper wall paper and a solid for the bottom. I separated these with some white braid for a molding effect. For the floor I used George basic shapes for a 2 x 9.75" rectangle and flood filled it with the wood pattern from Snapshot:Everyday on page 4. I had a ribbon that went perfect for the base board.
Table1.7" page 33 French Manor glossy accents for table top
Chair 2.5" page 28 French Manor cut 2, 1 is to cut apart and emboss to get chair cushion.
Cookies and Cocoa Kate's Kitchen pg. 10 use separate layers to get cookies and plate, size @
1.7 "then combine these layers. Cocoa cup is on page 17 and also @ 1.7".
Fireplace Joy Of The Seasons page 55 @ 2.5"I did all layers. The fire was also embellished with 3 shades of stickles for a roaring fire effect. (This is so cool!). The stockings are from Santas Village. I believe these are cut @ 1" sorry I do not have the exact measurement since these were leftovers from a project last year.
The wreathe is from JOTS on page 66 and all layers were cut @ 1.5". I used a small mirror tile that I adhered to the canvas and then used pop dots to raise it up above the level of the mirror. Then I just added a few red stickles and a nice red bow.
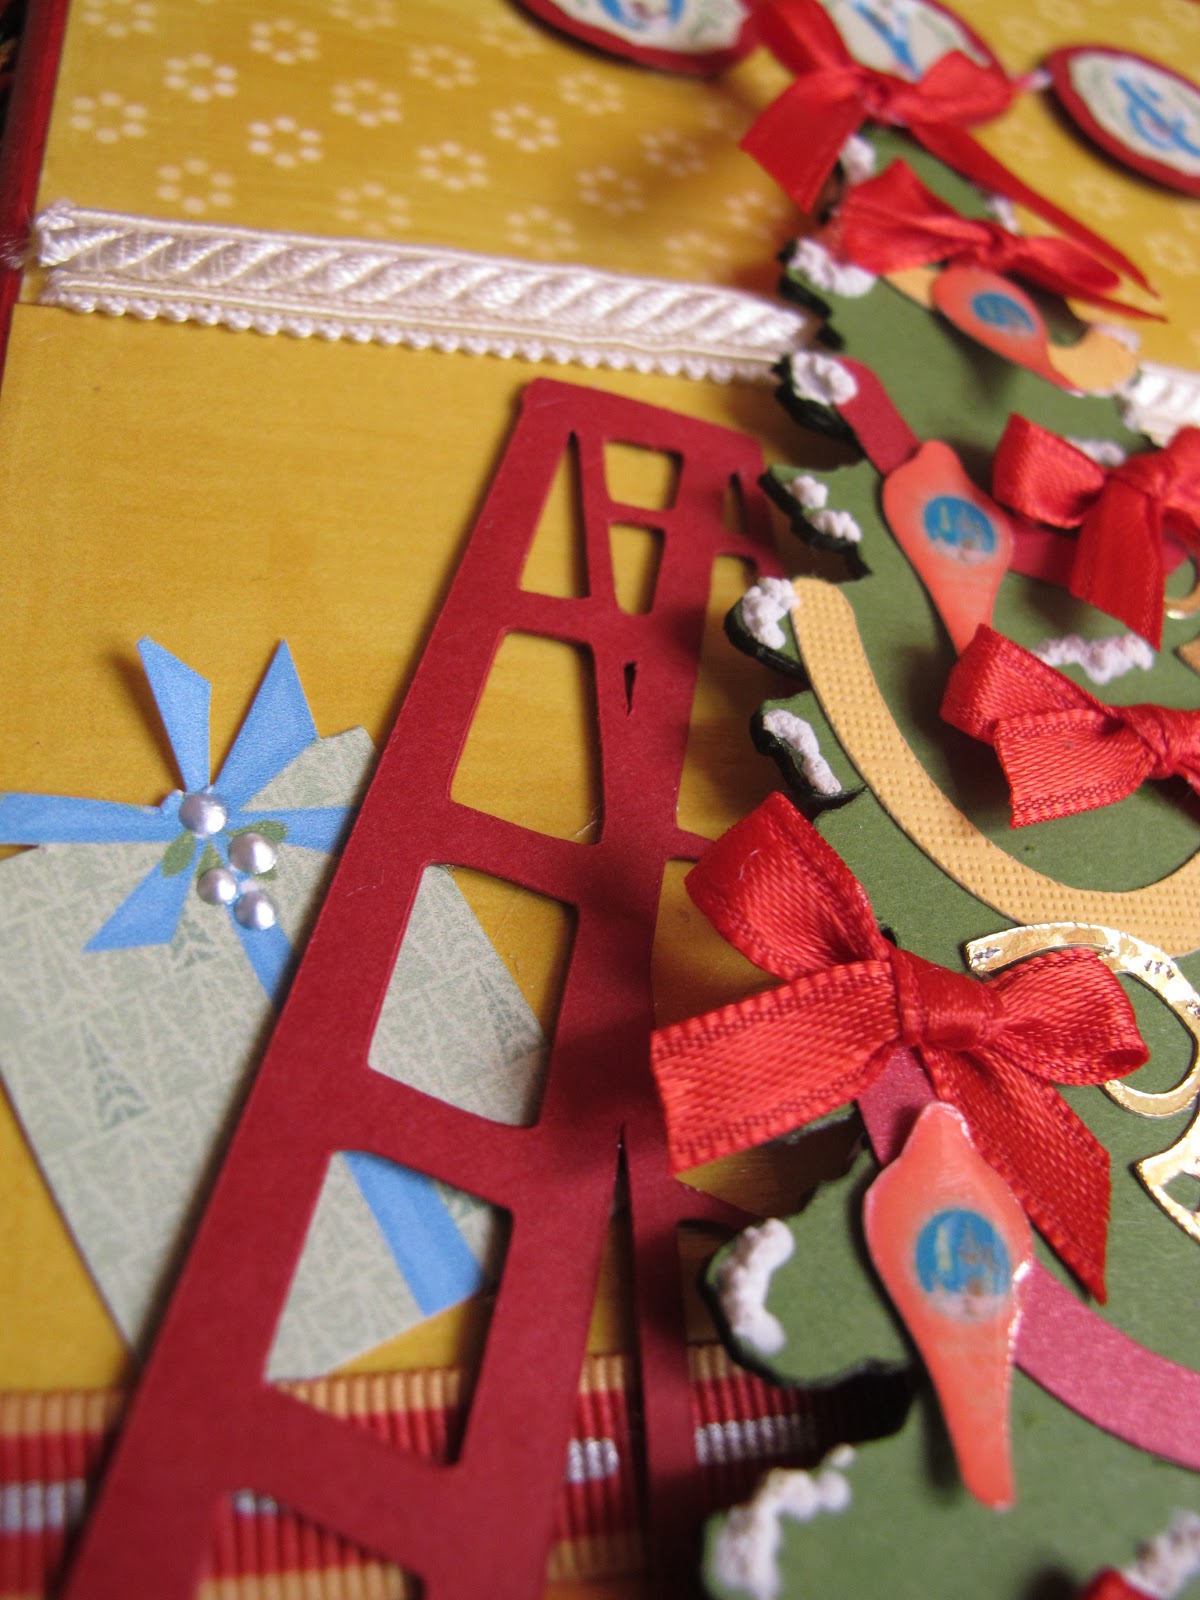
The ladder was cut 3 times from the image on Handy Man Lite cart @ 4". This made it real sturdy. The tree itself is from 'Tis The Season on page 39 of the hand book. I cut 2 from chipboard @ 6" and 1 from green card stock. After I glued these together I used a snow marker by Marvy to create a snow effect on the branches.This stuff gives a great 3D effect. You just add it to a project then heat it with a heat gun and puff, instant dimension!!! Erica was kind enough to send me some and I am now hooked.
The presents are from Snow Angel Imagine cart on page 17 and the ornaments are on page 2 and were print and cut @ .75". I love to add bows to my trees so why should a faux tree be any different, lol.
The image is on page28 of Snow Angel and I separated the layers so I could have the individual letters to work with. I can't believe I forgot to write down the size of the banner but I think they were at .75". I used a circle punch to add a red banner for the letters to rest on and used some red twine I had received from Erica to string them with. Then I added some snow marker. (I love this stuff!!!!).
My final project is a gift idea for the holidays using Girls Makeup Party:
I had made this for my grand daughters 6th birthday. She is such a girlie girlie,lol!!! I bought a clear gallon pail @ Michaels and decided to make a bathroom tote for her. I cut the "Girls Night" @ 2" from Girls Makeup Party on page 19 in hot pink vinyl. The brown label is from French Manor on page 68. I used the border shift function.I first applied the brown label and then the letters over it. All I had left to do was to add some ribbons and a flower and Voila, you have a girlie presentation. I filled this with a towel wrap and plenty of bath fizz balls. Needless to say it was a huge hit!
Now it is time to head over to
Nadja's and see what creative projects she has to show you. Should you get lost along the way here is the line up:
SATURDAY
- MCCR http://mycricutcraftroom.blogspot.com
- Kathy S http://3spoileddogs.blogspot.com
- Mary http://Mary-fortheloveofart.blogspot.com
- Nadja http://nadjarobbins.blogspot.com
- Miranda http://www.nanasscrapspot.com
- Shelley http://shelley-scrapbookingforfun.blogspot.com
- Lisa Chamberlain http://lisacustomscrapbooking.blogspot.com
- Janet http://janetscreativeworld.blogspot.com
- Lisa Carrier http://ourcraftingcorner.blogspot.com
- Sharon http://www.simplysweetbysharon.blogspot.com
- Tammy S http://www.Cuttinandstampin.blogspot.com
- Jessica S http://jessicascraftshaque.blogspot.com
- Erica’s Blog Candy http://ericasblogcandy.blogspot.com